The primary cause of cakey foundation is not dryness, but a flawed skin surface architecture created by an accumulation of dead cells.
- This buildup creates a rough, Velcro-like topography that causes makeup pigments to catch and clump unevenly, resulting in a patchy finish.
- Effective solutions focus on re-engineering this surface through proper cleansing and targeted exfoliation, rather than simply adding more primer or moisturizer.
Recommendation: Shift your focus from masking the problem to resolving it at its source by managing cell turnover to create a fundamentally smoother canvas for makeup.
You’ve followed all the rules. You cleansed, you moisturized, and you even applied that expensive primer everyone raves about. Yet, within an hour, your foundation starts to look heavy, separating into patches and emphasizing every fine line. It’s a common frustration that leads many to blame their makeup. But the culprit is rarely the product in the bottle; it’s the canvas underneath. While most advice focuses on hydration, it often misses the more critical, microscopic issue at play.
The common solutions—using a thicker moisturizer or a silicone-heavy primer—are merely temporary fixes. They attempt to spackle over a fundamentally uneven surface. The real issue is a matter of skin topography. The buildup of expired skin cells, or corneocytes, creates a disruptive surface architecture that prevents foundation from laying down smoothly. This isn’t about being “dirty”; it’s about the natural, yet often inefficient, process of skin renewal.
But what if the key wasn’t to add another layer, but to perfect the existing one? The true art of a flawless base lies not in concealing texture, but in eliminating it. This requires understanding the structural problem at a cellular level and adopting a strategy to re-engineer the skin’s surface. It’s about shifting from a cosmetic approach to a dermatological one.
This guide will deconstruct the science behind why makeup clings to uneven skin. We will explore how to correctly diagnose your skin’s condition, the right methods for creating a smooth surface, and the advanced molecules that can regulate this process from within. By understanding the architecture of your skin, you can finally achieve the seamless finish you’ve been searching for.
To navigate this complex topic, we will break down each critical element, from the microscopic cause of patchiness to the precise timing of skin treatments. This structured approach will provide a clear path to mastering your skin’s texture.
Summary: A Deep Dive into Foundation Application and Skin Texture
- Why Does Makeup Cling to Dry Patches Unevenly?
- How to Tell If Your Dullness Is Due to Dead Skin or Dehydration?
- The Danger of Dermaplaning at Home Without Proper Training
- Sugar Scrub or Loofah: What Works Best for Rough Elbows and Knees?
- How Many Days Before an Event Should You Resurface Your Skin?
- How to Reapply Sunscreen at 2 PM Without Ruining Your Foundation?
- The Residue Error That Leads to Dullness and Breakouts
- Retinol vs Bakuchiol: Which Molecule Actually Speeds Up Turnover?
Why Does Makeup Cling to Dry Patches Unevenly?
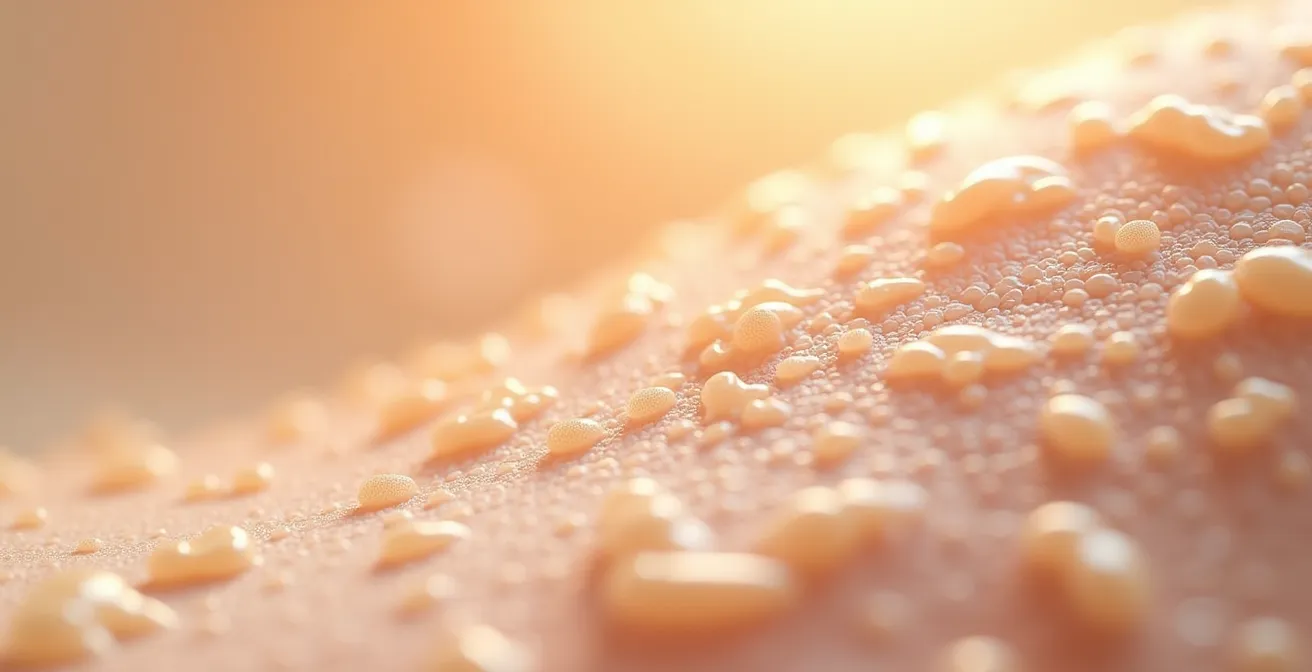
The phenomenon of foundation clinging to dry patches is not a failure of the makeup, but a result of microscopic topographical disruption on the skin’s surface. The outermost layer of our skin, the stratum corneum, is our primary defense against the environment. While incredibly thin, a scientific study reveals it consists of about 20 cell layers on average. When the natural shedding process, or cell turnover, slows down, these dead cells (corneocytes) accumulate unevenly. This is a process that can take anywhere from 40 to 56 days for facial skin cells to complete.
Instead of a smooth, uniform surface, you develop areas where cells are partially lifted and poorly organized. This creates a texture akin to microscopic Velcro. When you apply a liquid or cream foundation, the pigments don’t glide over this surface; they get snagged and caught on the raised edges of these cell clusters. This is what causes the uneven pigment adhesion, making makeup look patchy and highlighting texture that might have been less visible on bare skin.
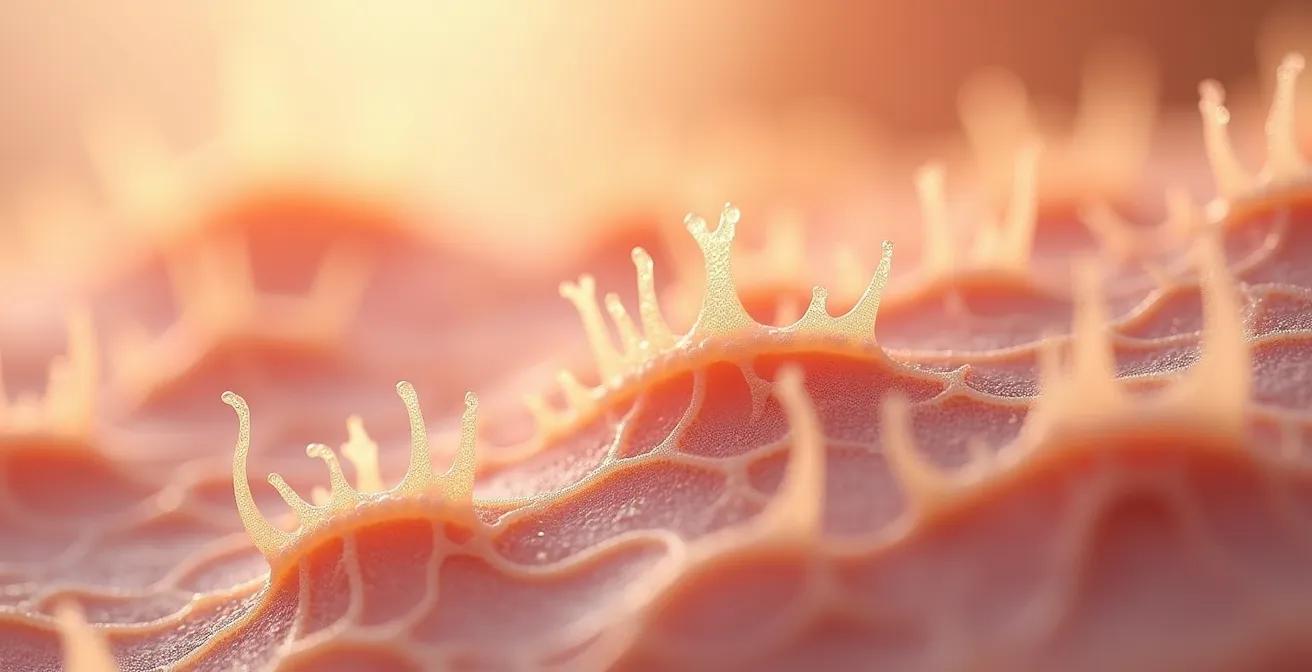
As this visualization suggests, these raised cells cast micro-shadows, which absorb light instead of reflecting it. This is why skin can appear dull and flat, even with a luminous-finish foundation. The problem is one of physics and light, not just color. Primers can help by creating a temporary smoothing layer, but they cannot fix the underlying structural issue. The only true solution is to restore a smooth, well-organized surface architecture by managing the buildup of these cells.
How to Tell If Your Dullness Is Due to Dead Skin or Dehydration?
Dullness is a common complaint, but its cause is often misdiagnosed. Confusing dead cell buildup with dehydration leads to using the wrong treatments, which can worsen the problem. While both can make skin look lackluster, they are fundamentally different issues requiring distinct solutions. Dehydration is a lack of water in the skin, which makes it feel tight and look crepey. Buildup, as we’ve discussed, is a textural issue caused by an excess of corneocytes. The stratum corneum’s thickness naturally varies, but when it becomes disorganized, it loses its luminosity.
To an artist’s eye, the difference is clear. Dehydrated skin often has a tight, almost “shiny” surface but with fine, parallel lines that appear when the face moves. Makeup applied to it can seem to disappear as the skin absorbs its moisture, or it can crack. In contrast, skin with significant buildup looks rough and feels uneven to the touch, and makeup catches on it, creating a cakey or flaky appearance. Differentiating between the two is the first step toward building an effective pre-makeup routine.
Performing a few simple diagnostic tests at home can provide clarity and guide your treatment strategy. This allows you to target the true source of your texture issues instead of guessing with products that may be ineffective or even counterproductive. An accurate diagnosis is the foundation of a flawless finish.
Your Action Plan: Diagnostic Tests for Skin Dullness
- Snap-Back Test: Gently pinch the skin on your cheek. If it “tents” and returns slowly to its normal state, it indicates dehydration.
- Shine Test: Observe your skin in good, natural lighting. A rough, uneven surface that looks flat points to dead cell buildup, while skin that looks tight and overly shiny suggests dehydration.
- Product Penetration Test: Apply a lightweight, water-based serum. If it sits on top and takes a long time to absorb, it’s a sign of buildup blocking its path. If it absorbs almost instantly, your skin is likely thirsty and dehydrated.
- Post-Cleanse Feeling: After washing your face, pay attention to the sensation. Dehydrated skin often feels tight, stripped, or “squeaky.” Skin with buildup may feel congested or rough, but not necessarily tight.
- Makeup Application Test: Notice how your foundation behaves. If it looks patchy and clings to certain spots immediately, suspect buildup. If it looks good initially but cracks or disappears later in the day, dehydration is a more likely culprit.
The Danger of Dermaplaning at Home Without Proper Training
In the quest for a perfectly smooth canvas, many are tempted by at-home dermaplaning, a procedure that uses a sharp blade to exfoliate the skin and remove vellus hair (“peach fuzz”). While it promises an instantly glassy finish, performing this technique without professional training is fraught with risk that goes far beyond a simple nick or cut. The real danger lies in the unseen damage to the skin’s delicate ecosystem and its complex surface architecture.
The primary risk is the disruption of the skin’s acid mantle and its defensive barrier. An untrained hand is likely to use inconsistent pressure and an incorrect blade angle, leading to microscopic abrasions and over-exfoliation. This compromises the skin’s ability to protect itself from environmental aggressors and bacteria, potentially leading to inflammation, sensitivity, and even breakouts—the very issues you’re trying to solve.
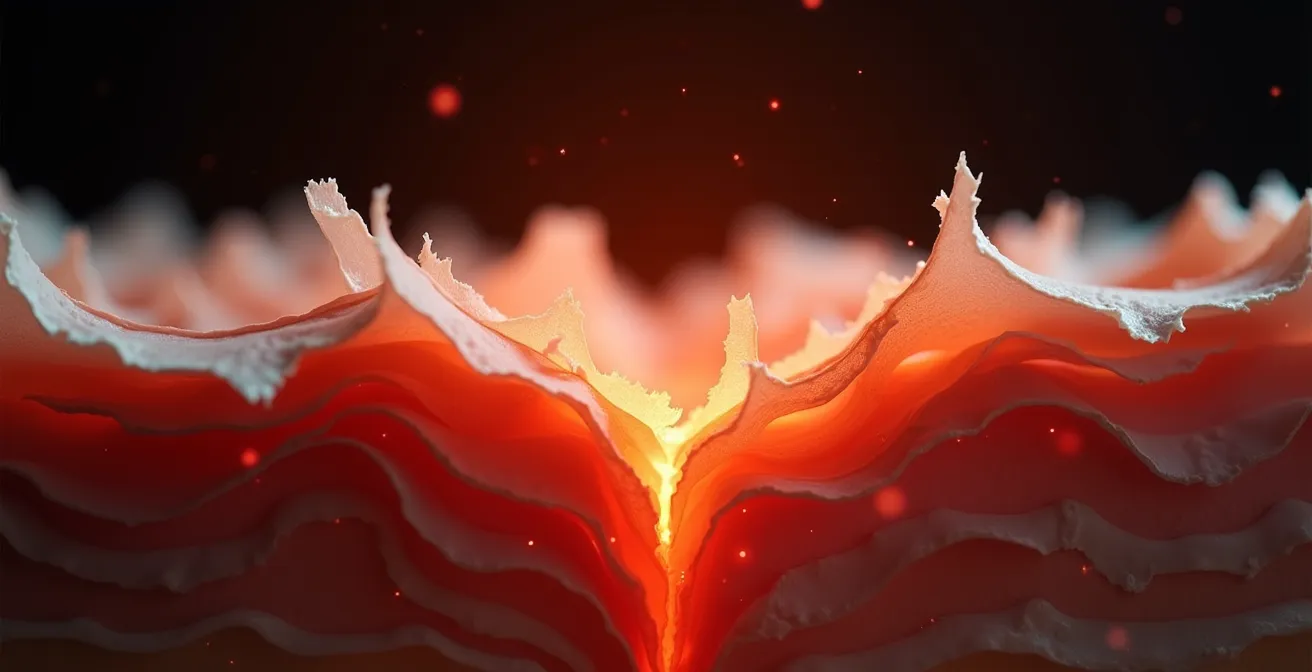
Case Study: The Impact of Stratum Corneum pH Disruption
The integrity of our skin is more complex than it appears. Recent research published in Nature shows the stratum corneum isn’t a uniform layer but maintains three distinct pH zones crucial for skin health. The middle zone, with its acidic pH, is a primary defensive barrier against pathogens. Improper dermaplaning can aggressively scrape away these layers, neutralizing the protective acidic environment. This not only leaves the skin vulnerable to infection but also creates an unstable, inflamed surface where makeup will not apply evenly, defeating the purpose of the treatment.
A compromised barrier cannot properly regulate moisture loss, leading to paradoxical dehydration and an overproduction of oil as the skin tries to compensate. For makeup application, this creates a nightmare scenario: a surface that is simultaneously flaky and oily, making a smooth, long-lasting finish impossible. Professional dermaplaning is a nuanced skill; attempting it at home is a gamble with your skin’s health.
Sugar Scrub or Loofah: What Works Best for Rough Elbows and Knees?
While our focus is often on the face, texture issues on the body, particularly on elbows and knees, can be just as frustrating. These areas have thicker, more resilient skin prone to darkness and roughness due to constant friction and pressure. The approach to exfoliation here must be different from the delicate facial area. The choice between a chemical/gentle abrasive method like a sugar scrub and a purely mechanical tool like a loofah depends on the thickness and condition of the skin.
The skin’s thickness varies significantly across the body. For instance, data from a PubMed study shows that stratum corneum thickness varies from about 11.0 μm on the shoulder to 18.3 μm on the forearm, and it’s even thicker on knees and elbows. For moderately rough skin or for those with more sensitive skin types, a sugar scrub offers a dual-action approach. The sugar crystals provide gentle physical abrasion, while the glycolic acid naturally present in sugar provides a mild chemical exfoliation to dissolve the “glue” holding dead cells together. This is generally a safer, more controlled option.
A loofah, on the other hand, is a tool of pure mechanical force. It is highly effective for thick, stubborn buildup on areas like the heels, knees, and elbows. However, its aggressive nature poses a higher risk of causing micro-tears and irritation, especially if used with excessive pressure or on more delicate skin. For severely neglected areas, a combined approach can be effective: using a dry loofah gently before a shower to dislodge the top layer of dead cells, followed by a sugar scrub to smooth and polish the new surface.
| Method | Best For | Mechanism | Risk Level |
|---|---|---|---|
| Sugar Scrub | Sensitive skin, face | Chemical dissolution + gentle abrasion | Low |
| Loofah | Thick skin (elbows, knees) | Mechanical exfoliation | Medium |
| Combined Approach | Severe buildup | Loofah first (dry), then sugar scrub | Low-Medium |
How Many Days Before an Event Should You Resurface Your Skin?
Timing is everything, especially when preparing your skin for a major event. The goal of resurfacing is to reveal fresh, smooth skin that provides the perfect canvas for makeup. However, exfoliation is a process that induces a controlled injury to the skin, and it needs time to recover and look its best. Performing a treatment too close to an event can result in redness, peeling, and a compromised skin barrier, making makeup application even more difficult. The key is to schedule your treatment so that your skin is at its peak of renewal, not in the throes of recovery.
The ideal window depends entirely on the intensity of the resurfacing method. A gentle enzyme or lactic acid peel might only require 2-3 days for any minimal flaking to subside, revealing a radiant glow just in time. A more potent glycolic acid treatment may trigger a “purging” phase for a couple of days, so scheduling it 5-7 days prior allows the skin to clear and settle. For professional-grade chemical peels, the recovery can be extensive; these should be done 2-4 weeks in advance to allow the skin barrier to fully heal and rebuild.
Remember that the skin is a dynamic organ. The human forearm, for example, sheds approximately 1,300 cells per cm² per hour. Resurfacing dramatically accelerates this process, and recovery involves more than just visible peeling; it includes the rebalancing of the skin’s pH and lipid barrier. Here is a practical timeline to guide your pre-event skin preparation:
- 2-3 Days Prior: Use a gentle enzyme or low-concentration lactic acid peel. This is ideal for a quick boost of radiance with minimal downtime.
- 5-7 Days Prior: A glycolic acid treatment can be used. This allows enough time to move past any potential purging or mild peeling, with the skin looking its best on the day of the event.
- 2-4 Weeks Prior: This is the window for professional chemical peels or more intensive treatments. It ensures your skin’s barrier is completely recovered and stable.
- 1-2 Days After Treatment: Always schedule a “makeup rehearsal.” Test your foundation on your post-treatment skin to see how it performs. This allows you to adjust your application technique or products if necessary.
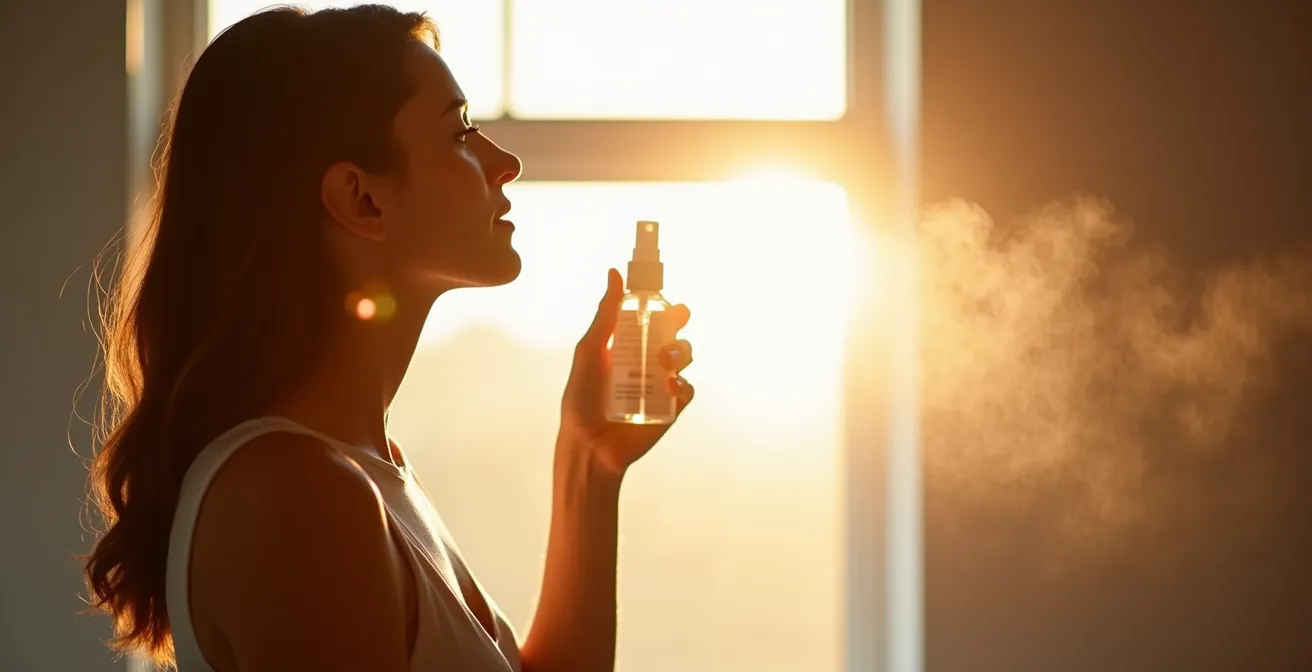
How to Reapply Sunscreen at 2 PM Without Ruining Your Foundation?
Protecting your skin from UV damage is non-negotiable, but the midday sunscreen reapplication poses a significant challenge for makeup wearers. The fear of turning a carefully crafted base into a greasy, pilled mess is real. However, modern formulations and application techniques make it possible to re-up your protection without sacrificing your look. The key is to work with your existing makeup, not against it, using light layers and gentle motions.
First, never apply more product on top of oily or sweaty skin. This is a recipe for pilling and patchiness. Start by blotting away excess oil using blotting papers, especially in the T-zone. This creates a more receptive surface. The best products for reapplication over makeup are fine-mist spray sunscreens or SPF-infused powders. Cream or lotion sunscreens are too heavy and will almost certainly disturb your foundation.
When using a spray, hold the bottle at arm’s length and apply a light, even veil over the face. Do not rub it in. Instead, take a slightly damp makeup sponge and gently pat or press the sunscreen into the skin. As the experts at MasterClass note:
Using a damp sponge rather than a foundation brush helps the product better absorb into the skin, preventing flakiness
– MasterClass Beauty Experts, MasterClass Cakey Makeup Guide
This pressing motion seamlessly melds the new layer of SPF with your foundation. For a mattifying touch-up, an SPF powder can be lightly dusted over the face with a large, fluffy brush. These techniques ensure your skin remains protected while your makeup stays impeccable.
The Residue Error That Leads to Dullness and Breakouts
One of the most common yet overlooked causes of persistent skin texture and dullness is improper cleansing. Many people believe a single pass with a makeup wipe or a quick wash is sufficient to clean their face at the end of the day. This is a critical error. Wipes and single cleanses often just smear makeup, oil, and sunscreen around, leaving behind a film of residue that builds up over time. This invisible layer is a primary contributor to a poor surface architecture.
This residue clogs pores, leading to congestion and breakouts. But just as importantly, it creates an uneven film that interferes with both skincare absorption and makeup application. Your expensive serums can’t penetrate effectively, and your foundation can’t adhere smoothly. This is why skin can still look dull and feel textured even after you’ve “cleansed” it. Over time, this chronic low-grade inflammation and blockage can even lead to lasting damage. In fact, research shows a significantly thicker stratum corneum in damaged areas, which exacerbates the cycle of roughness and poor texture.
Case Study: The Double-Cleansing Solution
An analysis of common skin concerns found that many individuals who rely solely on makeup wipes experience a gradual buildup of residue. This creates a persistent textural problem that becomes especially obvious when foundation is applied, causing a patchy, uneven appearance. The solution advocated by skin experts is double cleansing. This two-step method first uses an oil-based cleanser to dissolve and lift oil-soluble impurities like makeup and sunscreen. This is followed by a water-based cleanser to wash away any remaining grime and purify the skin, ensuring a truly clean canvas free from any film.
Adopting a double-cleansing routine is not a luxury; it is the fundamental first step in creating a flawless surface. By ensuring your canvas is completely free of residue, you allow your skincare to work optimally and create the perfect conditions for a smooth, seamless makeup application. This single change in your routine can dramatically improve your skin’s texture and luminosity.
Key Takeaways
- Cakey foundation is primarily a skin texture issue, not a product issue, caused by the ‘Velcro effect’ of dead cells.
- Diagnosing whether your skin is dehydrated or has buildup is crucial for choosing the correct treatment.
- Properly timed, targeted exfoliation is key to creating a smooth canvas, but aggressive or ill-timed treatments can worsen texture.
Retinol vs Bakuchiol: Which Molecule Actually Speeds Up Turnover?
While physical and gentle chemical exfoliation remove existing dead cells from the surface, advanced active ingredients can address the problem at its source by regulating the very rate of cell turnover. As we age, this process naturally slows down, changing from a cycle of about 28 days in young adults to 40 days or more in older adults. This slowdown is a major cause of chronic dullness and texture. The two leading molecules for addressing this are Retinol and Bakuchiol.
Retinol, a derivative of Vitamin A, is the undisputed gold standard in dermatology for accelerating cell turnover. It works by binding to receptors within skin cells and signaling them to behave like younger, healthier cells. As dermatologist Dr. Aguilar explains, its power is profound:
Retinoids penetrate deep enough to stimulate collagen and elastin fibers… Retinoids also increase the rate at which your body produces new skin cells, resulting in a faster skin cell turnover process
– Dr. Aguilar, HUM Nutrition Expert Interview
This dual action of boosting renewal from below while speeding up shedding on top makes it exceptionally effective at creating a smoother, more refined skin surface over time. However, its potency can also lead to irritation, redness, and peeling, especially during the initial adjustment period known as “retinization.”
Bakuchiol has emerged as a popular plant-based alternative. It is often marketed as a “natural retinol” because studies have shown it can deliver similar results—reducing fine lines and improving pigmentation—without the associated irritation. While it doesn’t work through the same pathways as retinol, it does appear to help regulate cell behavior and provide antioxidant benefits. For those with extremely sensitive skin or who prefer a plant-derived routine, Bakuchiol is a compelling option. However, for sheer power and a proven track record in accelerating cell turnover, Retinol remains the superior molecule. The choice between them is a trade-off between potency and tolerability.
To truly master your makeup application, the next logical step is to integrate a cell turnover strategy into your routine. By taking control of your skin’s surface architecture with a powerful active ingredient, you move beyond temporary fixes and begin to build a permanently flawless canvas. Evaluate which molecule, the powerhouse Retinol or the gentler Bakuchiol, aligns best with your skin’s specific needs and long-term goals.