In summary:
- VR motion sickness is caused by “sensory dissonance,” a conflict between what your eyes see (movement) and what your inner ear feels (stillness).
- Overcoming it involves strategic management, not just enduring discomfort. Key hardware settings like IPD and refresh rate are critical.
- Your physical environment provides “sensory anchors” (like a fan or mat) that help your brain stay grounded in reality.
- Gradual exposure through short, controlled sessions is the most effective way to build tolerance, a process called neuro-adaptation.
- Game design and comfort ratings are crucial tools that developers use to minimize nausea-inducing motion.
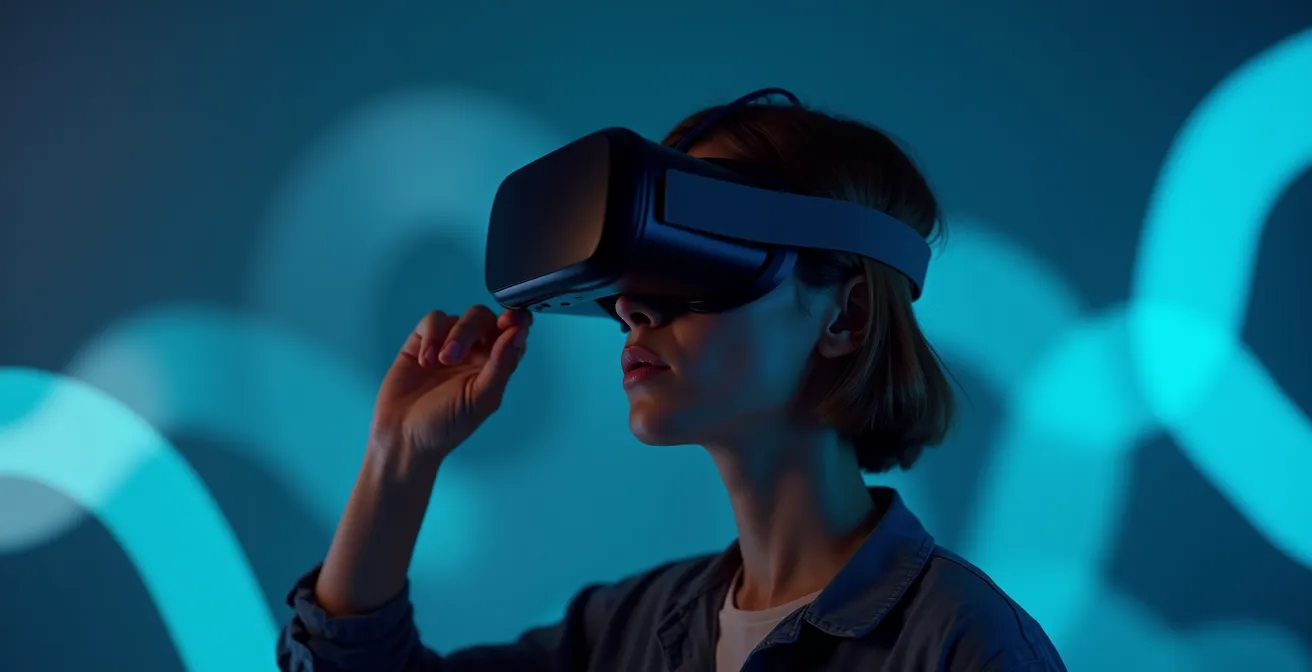
You unbox your new VR headset, brimming with excitement. The first few moments are magical—you’re standing on a distant planet or in the cockpit of a starfighter. But then, a creeping unease begins. A subtle dizziness, a warmth in your stomach, and suddenly the immersive world becomes a nauseating trap. This experience, often called cybersickness, is the single biggest barrier for new VR users. Many are told to just “get their VR legs” or take frequent breaks, but these tips only scratch the surface of a deep-seated neurological phenomenon.
The discomfort you feel isn’t a flaw in your constitution; it’s a predictable reaction to a fundamental conflict in your brain. Your eyes are screaming “we are moving!” while your vestibular system—the complex network in your inner ear responsible for balance—is calmly reporting, “nope, we’re perfectly still.” This mismatch, which we can call sensory dissonance, triggers an ancient, protective response in your brain that is very similar to how it would react to poison: it makes you feel sick to get you to stop what you’re doing.
But what if the solution wasn’t just to endure it, but to understand and strategically manage this sensory dissonance? The key to a comfortable VR experience lies not in brute force, but in a series of deliberate adjustments to your hardware, your environment, and even your own behavior. This guide will move beyond the platitudes and explain the “why” behind each fix. We will explore how to re-synchronize your senses, retrain your brain’s predictive model of reality, and finally unlock the full, nausea-free potential of virtual worlds.
To help you navigate this journey from discomfort to immersion, this article breaks down the essential strategies. We’ll cover everything from optimizing your physical space and hardware to understanding the psychological elements that influence your experience.
Summary: A Guide to Conquering VR Motion Sickness
- How to Set Up a VR Room in a Small Apartment Without Breaking Things?
- Escapism or Addiction: Where Is the Line in Immersive Gaming?
- Standalone vs PC VR: Which Experience Is Worth the Investment?
- How to Adjust Your IPD Settings for Crystal Clear VR Visuals?
- How Long Should a VR Session Last to Avoid Eye Strain?
- The Bleed Effect: When Does In-Game Emotion Affect Real Life?
- Why Does Blue Light Cause Headaches After Sunset?
- Open World vs Linear Narratives: Which Game Design Retains Players Longer?
How to Set Up a VR Room in a Small Apartment Without Breaking Things?
Your journey into comfortable VR begins before you even put on the headset. The physical space you inhabit is your brain’s primary anchor to reality. When that space is cluttered or feels unsafe, your cognitive load increases, making your brain less equipped to handle the sensory dissonance of VR. Creating a dedicated, safe play area is not just about avoiding broken lamps; it’s a psychological strategy. Research confirms the scale of the problem, showing that between 40-70% of VR users experience motion sickness, a figure often exacerbated by a stressful environment.
In a small apartment, this means being deliberate. Your first step is to establish clear, physical boundaries. This is where you can employ sensory anchors—real-world stimuli that keep your brain grounded. A small rug or a yoga mat in the center of your play space is a powerful tactile anchor. Your feet can feel its edges, constantly feeding your brain information about where you are in the real room, even when your eyes see a vast virtual landscape. This simple trick reduces the brain’s reliance on purely visual data.
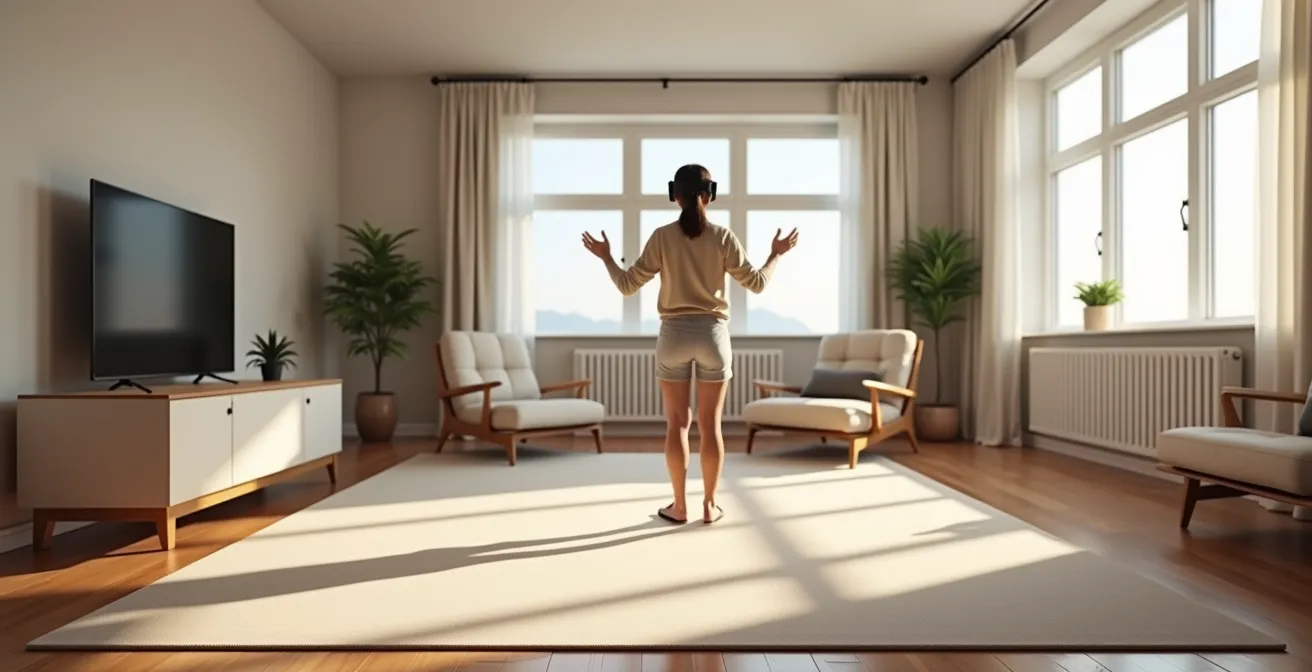
Another powerful sensory anchor is airflow. Positioning a small fan to blow on your face provides a constant, directional cue that helps your vestibular system orient itself. Your brain registers the feeling of air on your skin and instinctively knows which way is “forward” in the real world. Furthermore, setting up your virtual “Guardian” boundary slightly smaller than your actual physical space creates a mental buffer, reducing the anxiety of colliding with furniture and allowing your mind to focus on adapting to the virtual world.
Escapism or Addiction: Where Is the Line in Immersive Gaming?
Virtual reality is designed to be captivating, pulling you so deeply into its world that you forget your physical surroundings. But there’s a fine line between healthy escapism and pushing your body past its neurological limits. The first signs of motion sickness are your body’s early warning system, and learning to recognize them is a critical skill. As Professor of Kinesiology Thomas Stoffregen noted in an interview with ABC News, the problem is significant:
With contemporary commercially available VR systems, the incidence of motion sickness after only 15 minutes is anywhere from 40 to 70 percent.
– Thomas Stoffregen, ABC News
This discomfort is a physiological response, not a personal failing. In fact, some people are biologically more susceptible. A study on players of a VR horror game highlighted this, finding that 78% of women felt sick compared to just 33% of men. This suggests that for some, the body’s natural “brakes” against sensory dissonance are simply more sensitive. Ignoring these signals—the initial dizziness, a slight headache, a warm feeling in your stomach—is a mistake. Pushing through only deepens the negative association in your brain, making future sessions more difficult.

The conflict is happening at a chemical level. The game’s reward systems are flooding your brain with dopamine, encouraging you to keep playing, while the sensory dissonance is triggering a separate nausea response. This internal battle is exhausting. The key is to stop your session at the very first sign of discomfort, long before it becomes full-blown nausea. This teaches your brain that VR is a safe experience, allowing you to gradually build tolerance over time without creating a lasting aversion.
Standalone vs PC VR: Which Experience Is Worth the Investment?
Not all VR experiences are created equal when it comes to comfort. The hardware you choose plays a significant role in the intensity of sensory dissonance. The debate between standalone headsets (like the Meta Quest series) and PC-powered VR is often framed around graphics and cost, but for a new user prone to sickness, the more important factors are latency and refresh rate.
Latency is the tiny delay between your physical head movement and the corresponding update on the virtual screen. The higher the latency, the more noticeable the lag, and the greater the conflict between your movement and what your eyes see. Refresh rate is how many times per second the image is updated. A lower refresh rate creates a choppier, less realistic image, which can be highly disorienting. As research from flight simulation studies confirms, systems running at 60Hz cause significantly more symptoms than those operating at a smoother 90Hz or 120Hz. PC VR systems, powered by high-end graphics cards, typically offer lower latency and higher refresh rates, creating a more fluid and comfortable experience.
However, the choice isn’t that simple. Standalone headsets offer complete freedom of movement, eliminating the “cable anxiety” of getting tangled in a wire, which can itself be a source of stress. The following table, with data adapted from an analysis by VR hardware experts at Varjo, breaks down the key differences:
| Factor | Standalone VR | PC VR |
|---|---|---|
| Latency | 20-30ms typical | Under 20ms (undetectable) |
| Refresh Rate | 90-120Hz (Quest 3) | Up to 144Hz |
| Freedom of Movement | Wireless – reduces trip anxiety | Tethered – cable awareness needed |
| Cost for Comfort | $500 + accessories | $1000+ headset + $1500+ PC |
| Motion Prediction | Asynchronous Spacewarp | Native high framerate |
Ultimately, the “best” system is the one that fits your budget while providing the smoothest experience possible. For many new users, a modern standalone headset with a 120Hz display setting offers a fantastic balance of comfort, cost, and freedom.
How to Adjust Your IPD Settings for Crystal Clear VR Visuals?
Of all the settings on your headset, the Interpupillary Distance (IPD) is arguably the most critical for visual comfort, yet it is the most frequently overlooked. IPD is the distance between the centers of your pupils. VR headsets use two separate lenses and screens, one for each eye, to create a stereoscopic 3D image. For that image to appear clear, focused, and correctly scaled, the distance between the centers of those lenses must precisely match your IPD.
When the IPD is misaligned, your eyes and brain have to work overtime to merge the two slightly incorrect images. This causes eye strain, headaches, and a subtle but persistent sense of “wrongness” about the virtual world’s scale. This visual distortion is a major contributor to sensory dissonance. The problem is widespread, as most headsets are designed around a male average. Research by Bas Rokers, a professor of psychology, reveals that 90% of women have pupils closer together than the default settings on many headsets, putting them at an immediate disadvantage.
Getting this right is not optional; it’s fundamental. If your headset has a physical IPD wheel or slider, adjust it while looking at text in VR until it becomes as sharp as possible. If it has software adjustments, use a mirror and ruler or a smartphone app to measure your IPD in millimeters and input it manually. A correctly set IPD ensures the “sweet spot” of each lens is centered on your pupil, delivering the clearest possible image and reducing the strain on your brain. To ensure you’ve calibrated everything correctly, run through the following diagnostic steps.
Your IPD Calibration Checklist: Fine-Tuning for a Nausea-Free Experience
- Check World Scale: Look at your virtual hands. If they appear unnaturally large or small, your IPD is likely incorrect, creating a scale distortion that fuels nausea.
- Diagnose with Text: Focus on a block of virtual text. If the edges are blurry or show color fringing while the center is clear, your IPD needs fine-tuning.
- Verify Vertical Alignment: Ensure the headset sits properly on your face. The clearest image (the “sweet spot”) should be directly in front of you when looking straight ahead, not above or below.
- Use the Built-in Tool: Leverage your headset’s calibration screen. Most have a dedicated graphic (often green crosshairs) designed to help you find the sharpest possible alignment.
- Confirm with a Measurement: For ultimate precision, measure your IPD with a ruler and mirror or use a dedicated app. Enter this value directly if your headset supports it.
How Long Should a VR Session Last to Avoid Eye Strain?
One of the biggest mistakes new VR users make is trying to play for hours on their first day. Your brain is not accustomed to the unique demands of VR, and building tolerance—a process called neuro-adaptation—is a marathon, not a sprint. The goal is to gradually expose your brain to the virtual environment, allowing it to slowly build a new predictive model without triggering a sickness response.
The golden rule is to always stop *before* you feel sick. Pushing through discomfort is counterproductive; it strengthens the negative association between VR and nausea. Start with short sessions of just 10-15 minutes, especially in games with artificial movement. After the session, take a break for at least an hour and assess how you feel. If you feel fine, you can try another short session later. This approach, known as progressive overload, is highly effective. For example, a community of players of the VR racing game *Gran Turismo 7* reported great success by starting with very short races and gradually increasing session length over several days, successfully building their “VR legs” without ever getting sick.

This process also helps manage eye strain. In VR, your eyes are focused on a screen a few inches from your face, but the lenses trick your brain into perceiving depth, causing your eyes to converge and focus at a distance. This is called the vergence-accommodation conflict. While it’s a different mechanism from vestibular motion sickness, the resulting eye fatigue adds to your overall sensory load. Short sessions with frequent breaks give your eyes a chance to rest and refocus in the real world, preventing the buildup of strain that can lead to headaches and exacerbate feelings of nausea.
The Bleed Effect: When Does In-Game Emotion Affect Real Life?
The power of VR is its ability to trick your brain into believing you’re somewhere else. But what happens when that feeling lingers after you’ve taken the headset off? This phenomenon, sometimes called the “bleed effect” or post-VR disorientation, is a clear sign that your brain’s predictive model has been significantly altered and is struggling to recalibrate back to the rules of physical reality.
Users have reported a range of strange, lingering symptoms hours after a VR session. These can include a feeling of physical unreality (derealization), misjudging the distance to objects, or feeling a momentary “lag” when turning your head. This isn’t just a psychological quirk; it’s a neurological aftershock. Your brain spent the last hour learning to operate in a world with slightly different physics and sensory inputs. When you return to the real world, it can take time for your brain to switch back to its default settings. These symptoms are a manifestation of that recalibration process.
While often temporary, the bleed effect is a strong indicator that you may have pushed a session too long or played a particularly intense experience. It underscores that sensory dissonance isn’t just an in-headset problem; its effects can persist. This highlights the importance of ending your sessions in a calm, static virtual environment and taking a few moments to sit and re-acclimate to the real world before jumping into complex tasks like driving. It’s a reminder that the boundary between the virtual and real worlds is, for our brains, more porous than we might think.
Why Does Blue Light Cause Headaches After Sunset?
While the primary cause of VR motion sickness is the vestibular conflict, other factors can contribute to overall discomfort and make you more susceptible to nausea. Eye strain is a major one, and a key culprit behind it is the high-intensity blue light emitted by VR screens. This is not the same as the “swimmy,” disorienting feeling of motion sickness, but it can lead to a dull, persistent headache that makes your VR experience miserable.
Your brain’s circadian rhythm—its internal clock—is heavily influenced by light. Blue light, which is prevalent in daylight, signals to your brain that it’s time to be awake and alert. Exposure to intense blue light from screens after sunset can disrupt this cycle, suppressing the production of melatonin (the sleep hormone) and leading to eye fatigue and headaches. In the enclosed environment of a VR headset, your eyes are exposed to two concentrated sources of this light just inches away, compounding the effect.
Many headsets now include a “night mode” or “eye comfort” setting that shifts the screen’s color temperature toward a warmer, more yellowish hue, reducing the amount of blue light. Activating this for evening sessions can significantly reduce eye strain. It’s also crucial to distinguish between a headache caused by eye strain and one that’s a symptom of vestibular distress. A headache from blue light typically feels like a dull ache behind the eyes, whereas a motion-sickness headache is often accompanied by dizziness or nausea. Lowering the headset’s brightness can also provide immediate relief from eye strain.
Key Takeaways
- VR motion sickness is a treatable sensory conflict, not a permanent condition. Strategic adjustments are the solution.
- Your physical environment and hardware settings (IPD, refresh rate) are the foundation of a comfortable experience.
- Listen to your body. Always stop at the first sign of discomfort to avoid building a negative association with VR.
Open World vs Linear Narratives: Which Game Design Retains Players Longer?
The final piece of the comfort puzzle lies not with you or your hardware, but with the game developers themselves. The way a virtual world is designed can either dramatically reduce or greatly exacerbate sensory dissonance. The choice between an open-world design, which offers total freedom of movement, and a more linear, on-rails experience often has significant implications for player comfort.
Artificial locomotion—moving your character with a joystick while your body remains still—is the single biggest trigger for motion sickness. Open-world games, which rely heavily on this mechanic, can be particularly challenging for new users. In contrast, linear or stationary games that use “teleportation” mechanics or keep the player in a fixed position (like a cockpit or a stationary viewpoint) minimize the conflict between visual and vestibular input. This is why many introductory VR experiences are stationary.
Recognizing this, the VR industry has developed comfort rating systems to help users make informed choices. Platforms like the Meta Store and SteamVR categorize experiences as ‘Comfortable,’ ‘Moderate,’ or ‘Intense.’ As a case study in effective UX design, these ratings have been shown to significantly reduce the incidence of sickness. Experiences rated ‘Comfortable’ typically involve no artificial movement or use teleportation, making them ideal starting points. By choosing games with a comfortable rating initially and only gradually moving to more intense experiences, you are effectively using game design as a tool in your neuro-adaptation process.
Now that you understand the principles behind VR comfort, the next step is to consciously apply them. Begin your next session by checking your IPD, choosing a ‘Comfortable’ rated game, and setting a timer for 15 minutes. This deliberate approach is the most effective path toward a truly immersive, nausea-free experience.
Frequently Asked Questions About VR Motion Sickness
What’s the difference between eye strain and vestibular strain symptoms?
Eye strain presents as headaches behind the eyes and visual fatigue, while vestibular strain causes dizziness, nausea, and a ‘swimmy’ feeling. The solutions differ – eye strain needs breaks and blue light management, while vestibular strain requires comfort settings adjustment.
How long does it take to develop ‘VR legs’?
Your body will adjust to the visual-vestibular disconnect over time through practice with smaller gaming periods throughout the day. This process of neuro-adaptation is gradual, and you can help it by slowly extending session lengths as your tolerance builds without ever pushing into discomfort.
Should I push through mild discomfort?
No, you should always stop at the first signs of discomfort. The principle of overcoming VR sickness is progressive overload, which means gradually increasing the time you are *comfortable* in VR, not enduring periods of sickness. Pushing through will only create a stronger negative association in your brain and make it harder to adapt in the long run.